Thought it might be fun to get some memes featuring Kendall going... I've got the first one, but let me know if you can come up with something funnier in the comments section below...
Also, here's a fresh picture to get the captions going... let's see who can come up with the funniest comment. Put #1 for the top photo and #2 for the bottom photo in your comment.
Wednesday, December 10, 2014
Tuesday, November 11, 2014
Kendall and Daddy's Big Afternoon!
Kendall and I had our first "Non-Mom" afternoon today. Crystal went out to get her hair done in preparation for tomorrow's newborn photo shoot. Things went so smoothly for the first 2 minutes. Then the reality of what was going down set in - for both of us...
No mommy!
For, like, 2 hours!
We withheld sending text messages to Crystal for the first hour or so, as to let her enjoy her hair appointment... But by the second hour, Kendall and I had to reach out...
Here's the text conversation to give you a flavor of our big afternoon!
We had such an adventure! Hopefully next time we get into our groove a bit more... ;-)
Monday, October 20, 2014
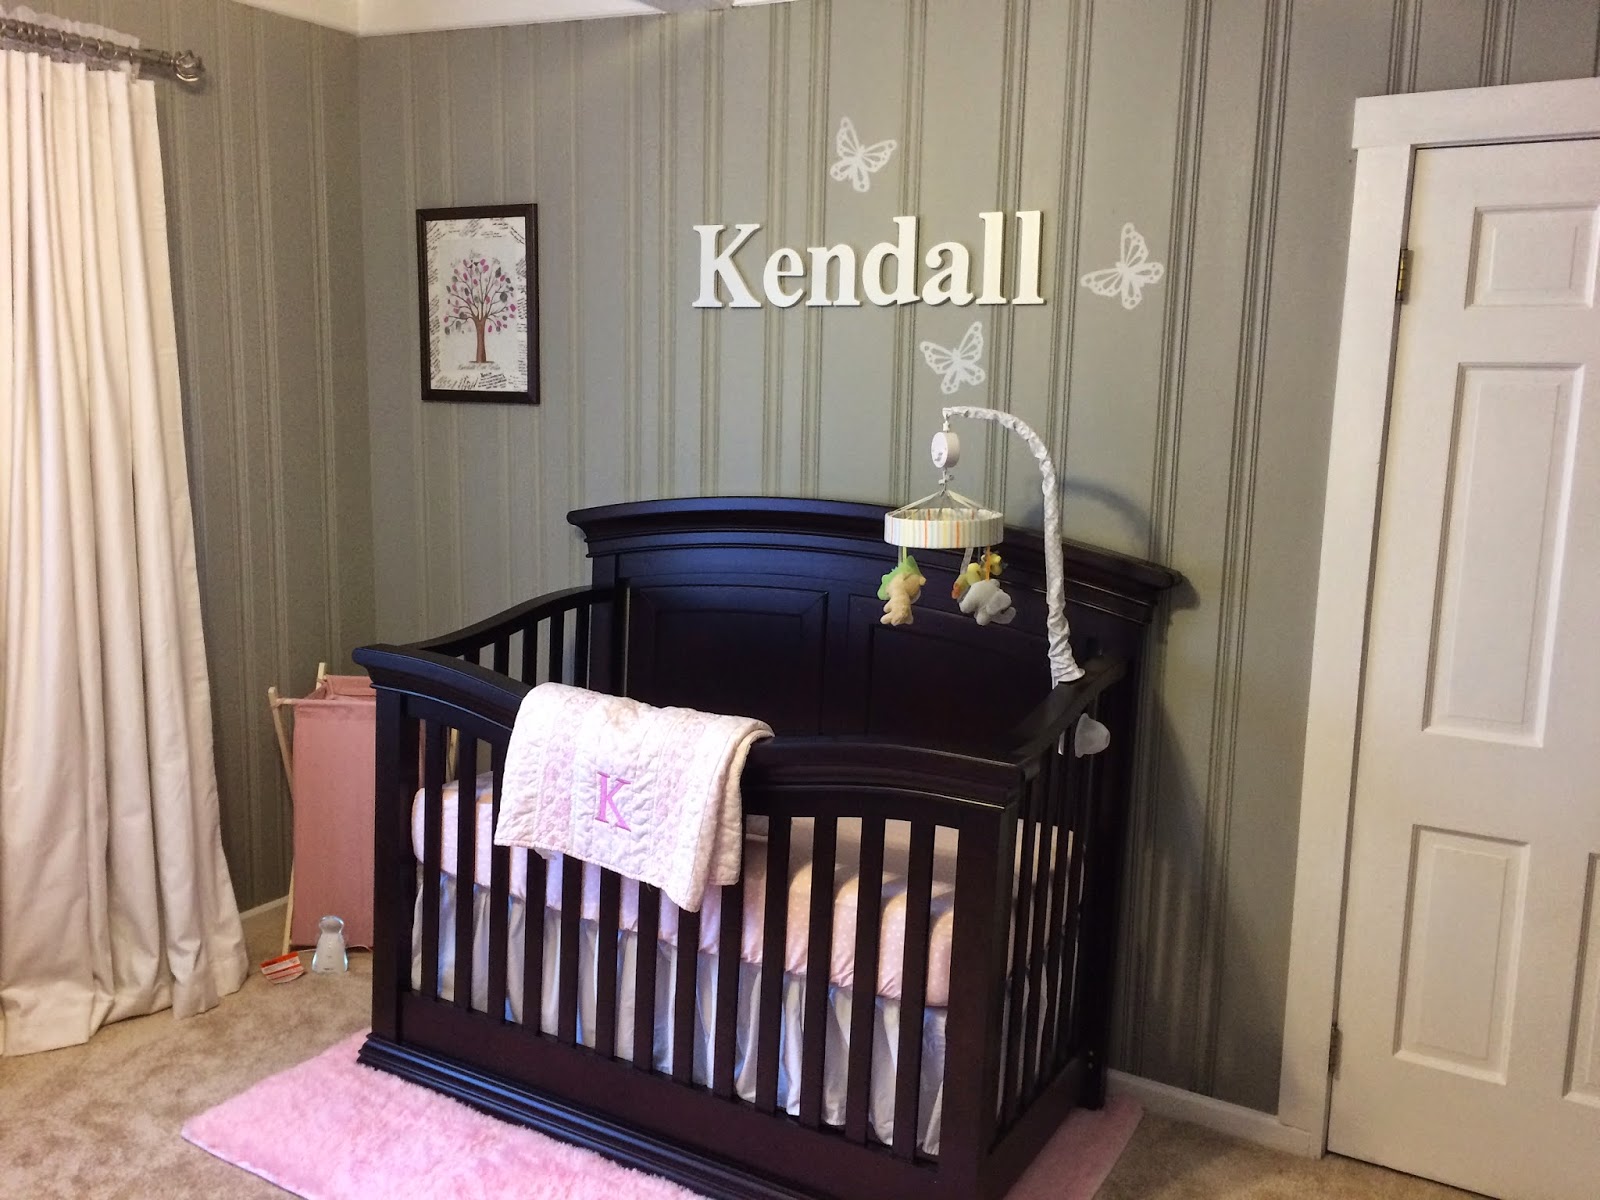
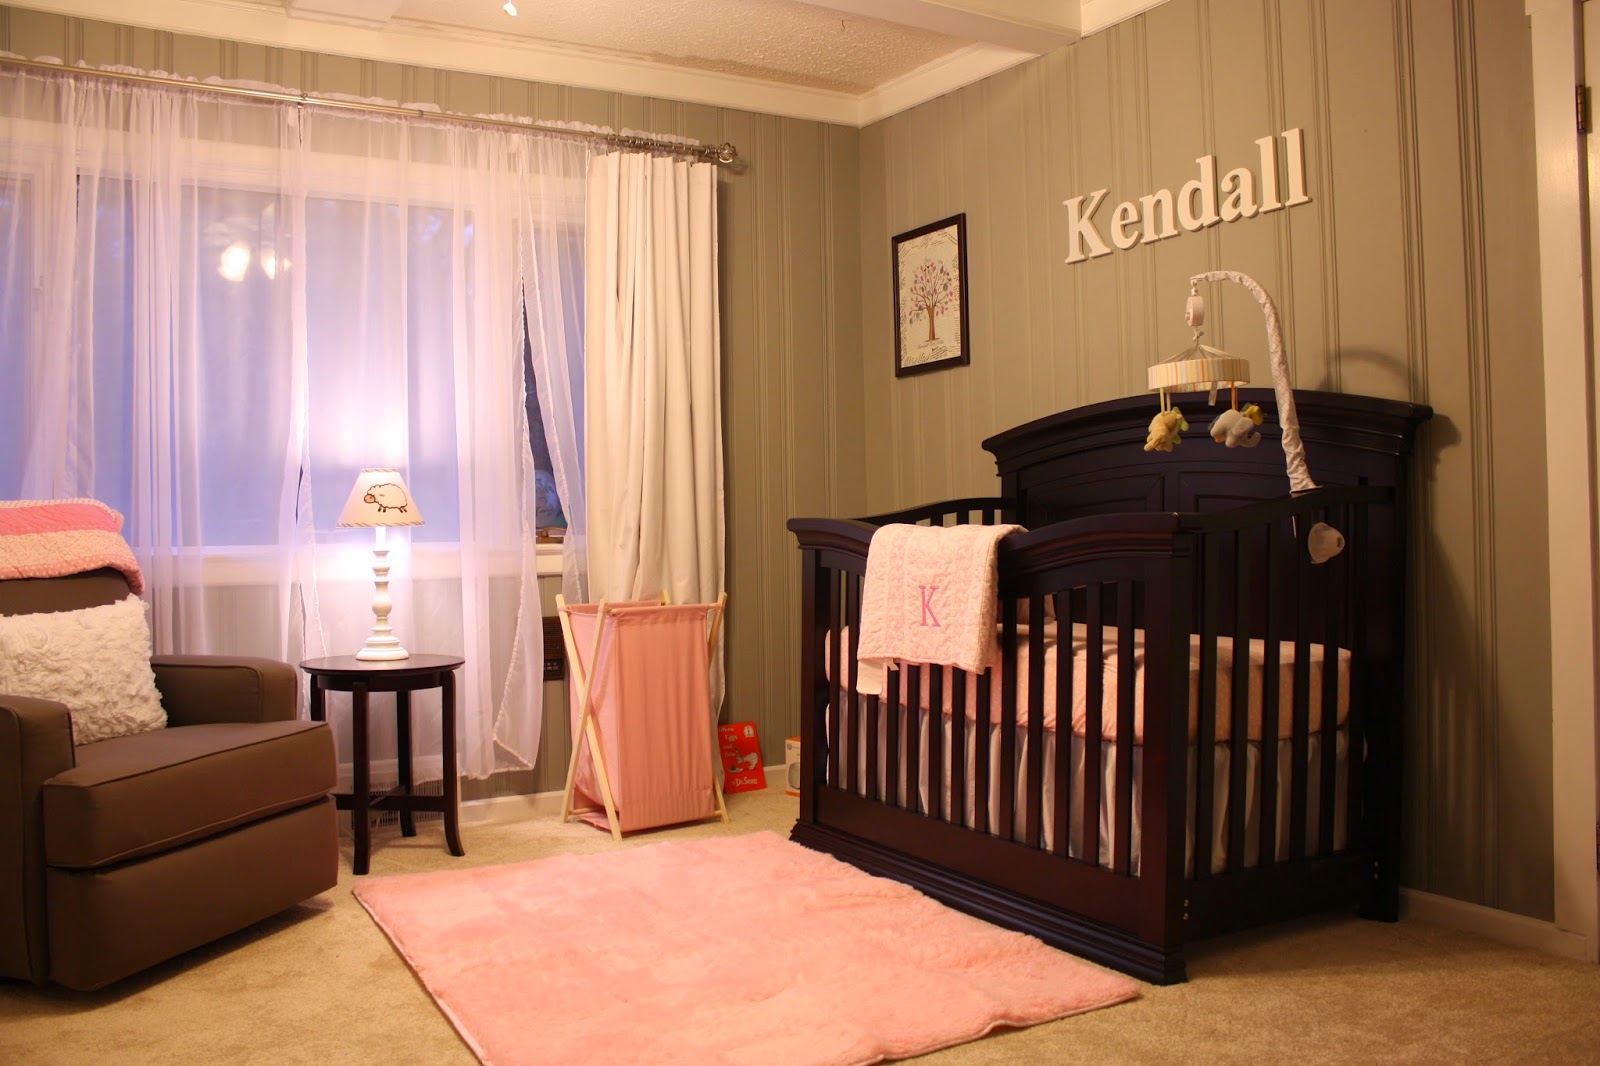
UPDATE: Kendall's Nursery Remodel
Crystal took a few more photos of the room this weekend when we finished putting up and re-arranging the decor. I wonder if people will even see the differences, so how about this: In the comments section post things you notice are different. It's like a game of "Spot the Difference"! (Sonoma's butt doesn't count... but see if you can spot it anyway...)
Saturday, October 18, 2014
Kendall's Nursery Remodel
When Crystal and I found out we were pregnant, one of the big concerns was which room would be the nursery and how much remodeling would we want or need. We decided on converting the office into the nursery, which of course meant relocating the office. We moved all the furniture to the sun-room and made that the new office. The remodel of the room started in July and we're still completing the final touches. The next few photos are an attempt to illustrate where it started, the process, and the (almost) final product. So here goes...
This photo was taken when we toured the house before we bought it. I didn't think to take photos before I started the nursery project, this is the best I could do after the fact! Notice the "lovely" purple, black and brown...
One of the first steps that Crystal and I took when we decided to remodel the room was to decide what we would do with the built-in. Using SketchUp we drew up different models and ultimately chose to add a few more shelves and remove some existing drawers. Below is the mock-up (with the closet doors and center drawers removed). The brown elements represent the items that had to be added to the built-in. The grey color elements were already in the original built-in.

This is taken shortly after I started the demo. You can see the carpet removal is underway and the office furniture has been removed already (thanks for the help with that, Dad!). At this point I had also removed the drawers on the bottom of the built-in (except for the middle, obviously).
.Further along in the demo process now, carpet and padding fully removed. It's surprisingly easy to remove carpet and the padding. I simply cut it into strips as I went and rolled it up. Whole thing took about 30 minutes. Over the course of 2 weeks or so it all went right in to the garbage can and was taken away by our garbage collection.
This picture shows the room almost totally demoed. I started to fill in holes in the wood paneling to prep for painting. Now, let me tell you something about painting wood paneling: it SUCKS. All the ridges made it very challenging because the paint wants to "web" across the gaps and it creates dark shadowy areas; makes the whole job look very uneven.
Crystal's brother Zach is a professional painter (ZM Painting) and saved me on this project. His help and just overall knowledge of painting made this room look incredible. We ended up caulking every single ridge in the paneling to make the paint look nice and consistent. It was a painstaking process, but totally worth it in the end. The white trim really stands out against the grey walls. Gotta thank Zach for taking two weekends in a row out of his busy work schedule to help me with the painting. He half-jokingly, half-seriously told me "I'm not doing this to help you, I'm doing it for my niece!"
I painted the built-in unit with a semi-gloss paint. That helps give it a nice sheen and really bright white look. Also, notice the brown door on the left. The plan all along was to replace this barn-looking door because the black hinges no longer matched the room and the latch-style handle was not conducive to a nursery.
Finally, here are some photos of the (almost) finished nursery. We've got the brushed silver hardware on the built-in and decorations set up in the room. It took a long time and a lot of work to get to this point, but we couldn't be happier with the outcome. There is still some decorating to do, but that will come over time and we now have the room ready for Kendall when she arrives! We have two types of curtains, one that's translucent to give privacy and the other is a thicker light block thermal curtain.
As you can see we changed the door with a standard solid core 6-panel. That on it's own was quite a learning experience to install. I had to prep the entire thing from scratch including chiseling the mortises for the hinges, core and strike plate (I had to learn to chisel) and drilling the holes for the handle and core. It took almost an entire weekend to hang. Hanging door is no easy task - it takes a lot of patience...
And to be honest, I learned pretty much everything as I went through this remodel. You can sort of see the fan/light combo I installed in the photos which was my first dabble in electrical wiring. The room originally had a plain, brass light fixture in the ceiling. I also rewired and installed two new light switches and replaced all the black receptacles in the room with tamper-resistant white ones.
That just about captures it all, except we have one more addition to make to the room... And she's scheduled to arrive on Oct 24. I hope you enjoy the photos, but I really hope Kendall enjoys her new room :-)
Subscribe to:
Comments (Atom)


